Unlock tutorials, tools, and resources to fuel your creativity. Let’s get started!

Healing chapped lips for portraits
Hello everyone,
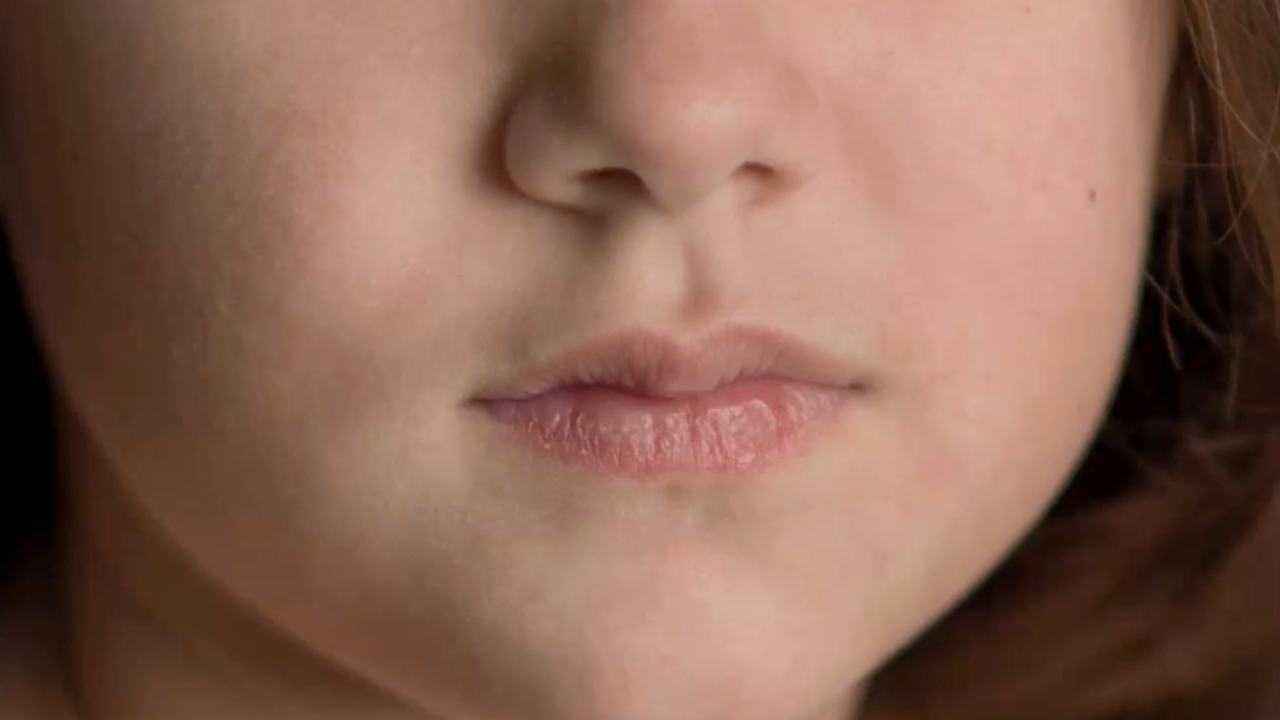
Have you ever had a client come in for their session with chapped lips?
Even putting on chapstick does not fix the defined lines that will be prominent in the photograph. When you're putting a lot of work into your portraits, you don't want something like chapped lips to throw everything off.

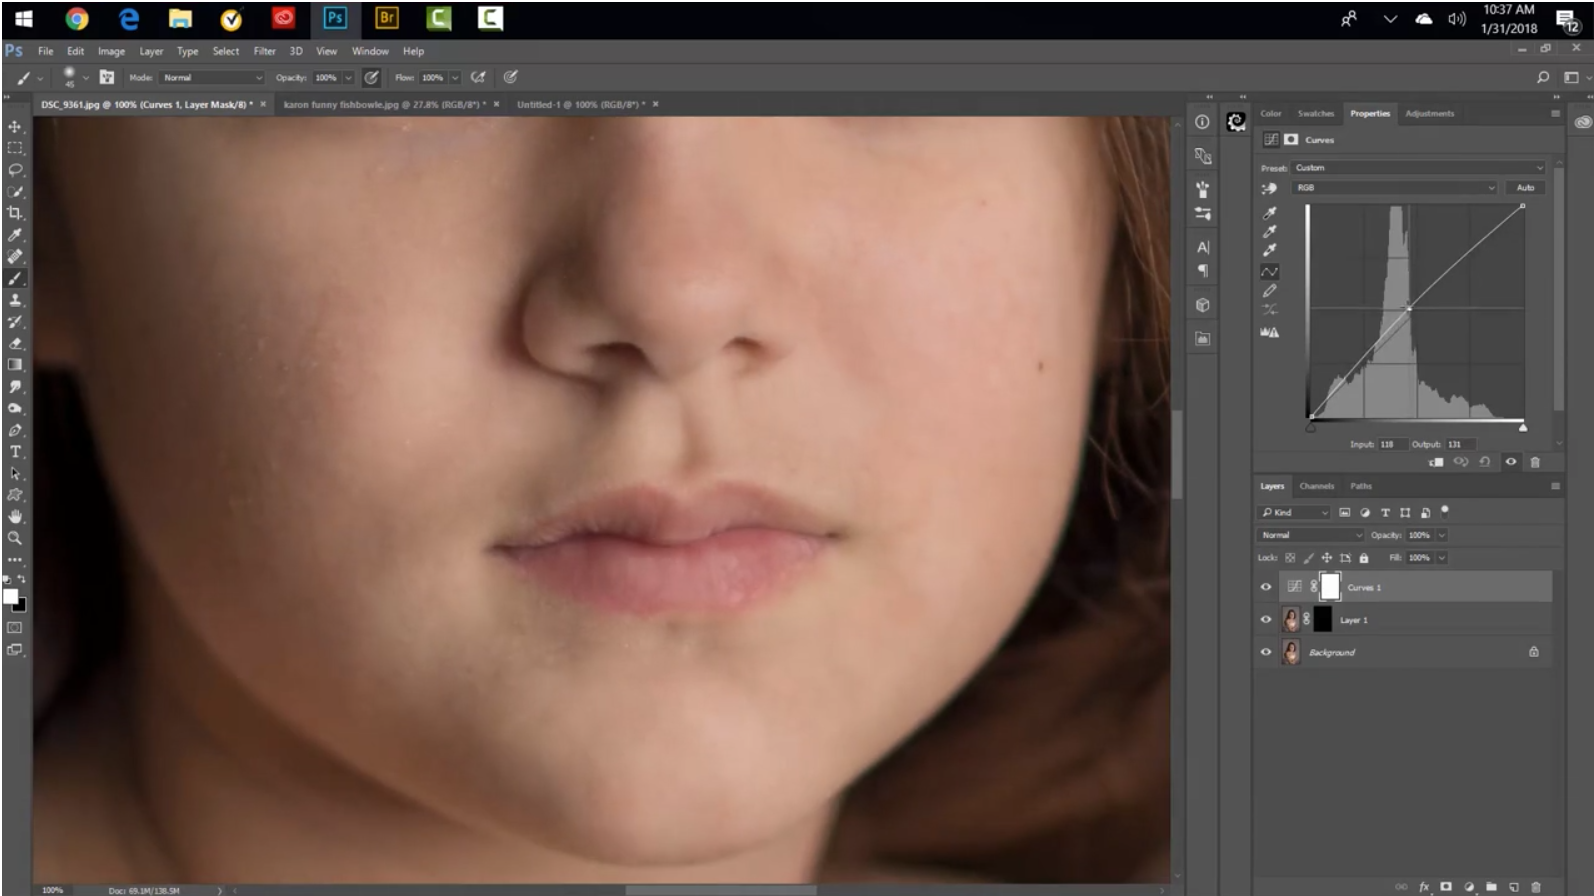
This tutorial explained the technique I use to heal chapped lips using Photoshop. It is not just smoothing out the lips. There are different tools in Photoshop that you can use to heal chapped lips and make them look like they were never chapped. One of the tools I used was the healing tool.
Access the premium membership library to see the full tutorial and techniques applied in action!

The method I use in the tutorial focuses on the highlights and shadows on the lips. But, of course, when you're editing many portraits, you want to use whatever is the quickest method. Although the process I mentioned isn't the fastest, I think it's shorter than dodge and burn.
There were some extra steps I took after editing the cracks in them. For this tutorial, I used a straight-out-of-camera image, and in the full tutorial, you can see that I edited the luminance to bring back the highlights from the healing I did.

You can go in there and do as much as you want to heal the lips. If it's far away, I won't put too much work into them, especially if there are several portrait images you have to edit. I will take more time to edit if it is a close-up image.
This tutorial is great to have in your bag of editing tricks and will help you deliver beautiful images.
Happy Editing!
Tara Lesher

